
Floating Shelves DIY
How to Install Floating Shelves DIY
We purchased Maple veneer floating shelves from Semihandmade for our cabin which included the shelf, mounting bracket, and hardware. The come in a few finishes and make for a beautiful and sturdy shelf for various applications. The fit and finish was amazing!
Steps for Installing a Floating Shelf
Locate the studs for the lag bolts.
Mark the bracket for drilling holes in the steel bracket.
Drill holes.
Screw lag bolts to hang bracket.
Slide on shelf
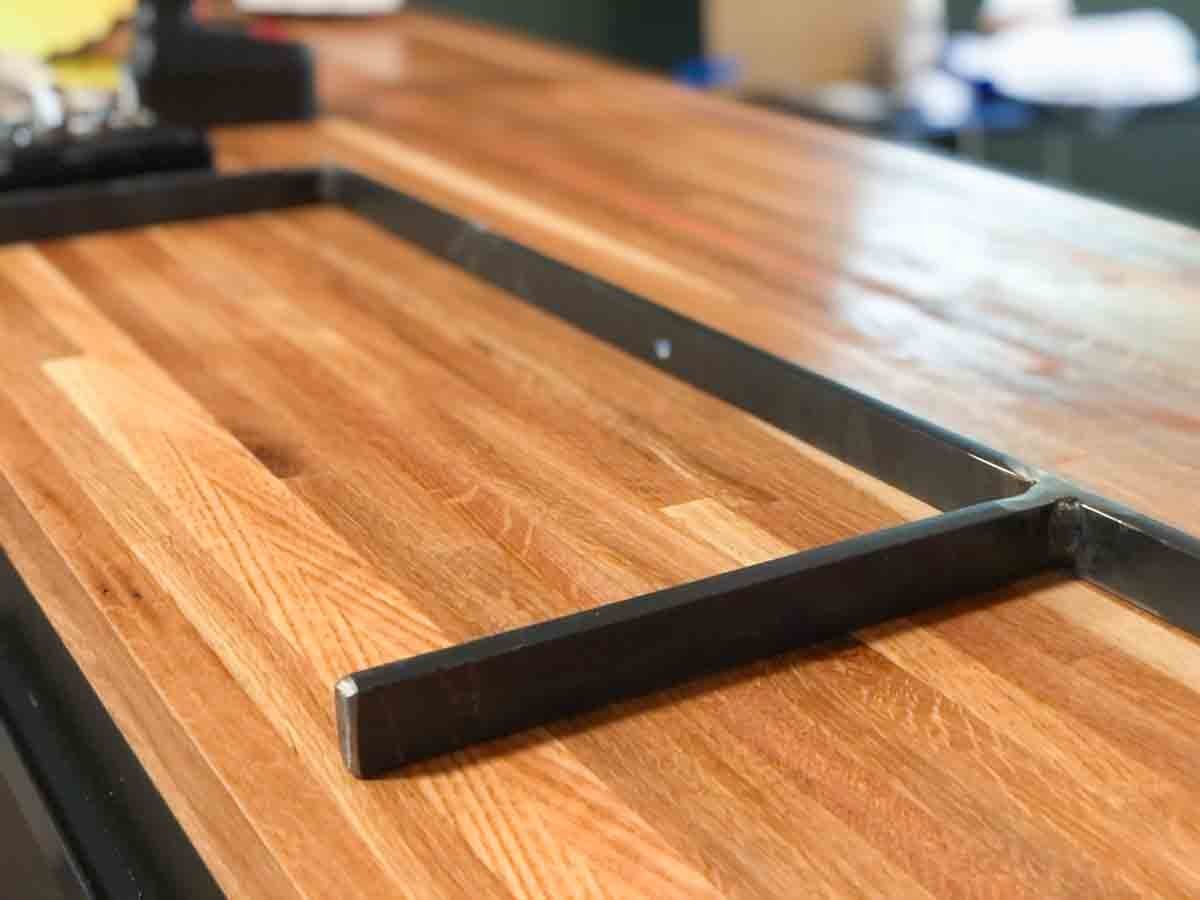
The Floating Shelf Bracket
The steel mounting bracket is heavy and thick, giving it plenty of strength to hold up your floating shelf.

Preparing the Location of the Floating Shelf Bracket
Locate the studs and mark locations using a laser level.

Drilling the holes in the mounting bracket is the most difficult part of installing the floating shelf. We used a metal stepping bit and each hole took about 20 minutes to get through the metal. Use cutting oil to help get through the material.
Once the bracket holes were drilled, we screwed the lag bolts into the wall to hold the floating shelf bracket using a socket set.

Lastly, slide the shelf onto the bracket. We installed two floating shelves in the kitchen to replace the old floating shelves held by visible brackets.
A third floating shelf was installed in the living room to hold up the cable box and A/V equipment, so we followed the same procedure to mount the shelf.


