
Stripping Down: Restoring a Fireplace
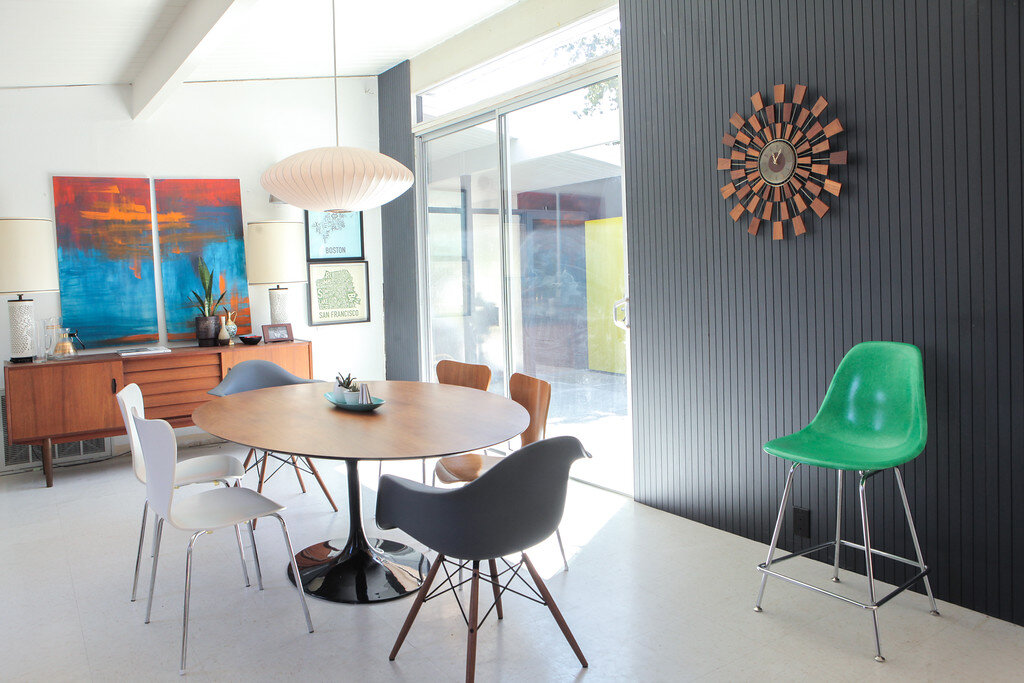
Our dining room went already went through an amazing transformation, but the fireplace remained one of the last things to tackle in the room. The original brick fireplace was tiled over with some beige stone that didn't fit the MCM theme.

The room went through extensive updating where we put back in a large sliding door, added Walnut wall paneling, replaced the carpet with VCT, and even added back in original pinstripe Eichler siding.
Major work completed to allow access and light in through the atrium.
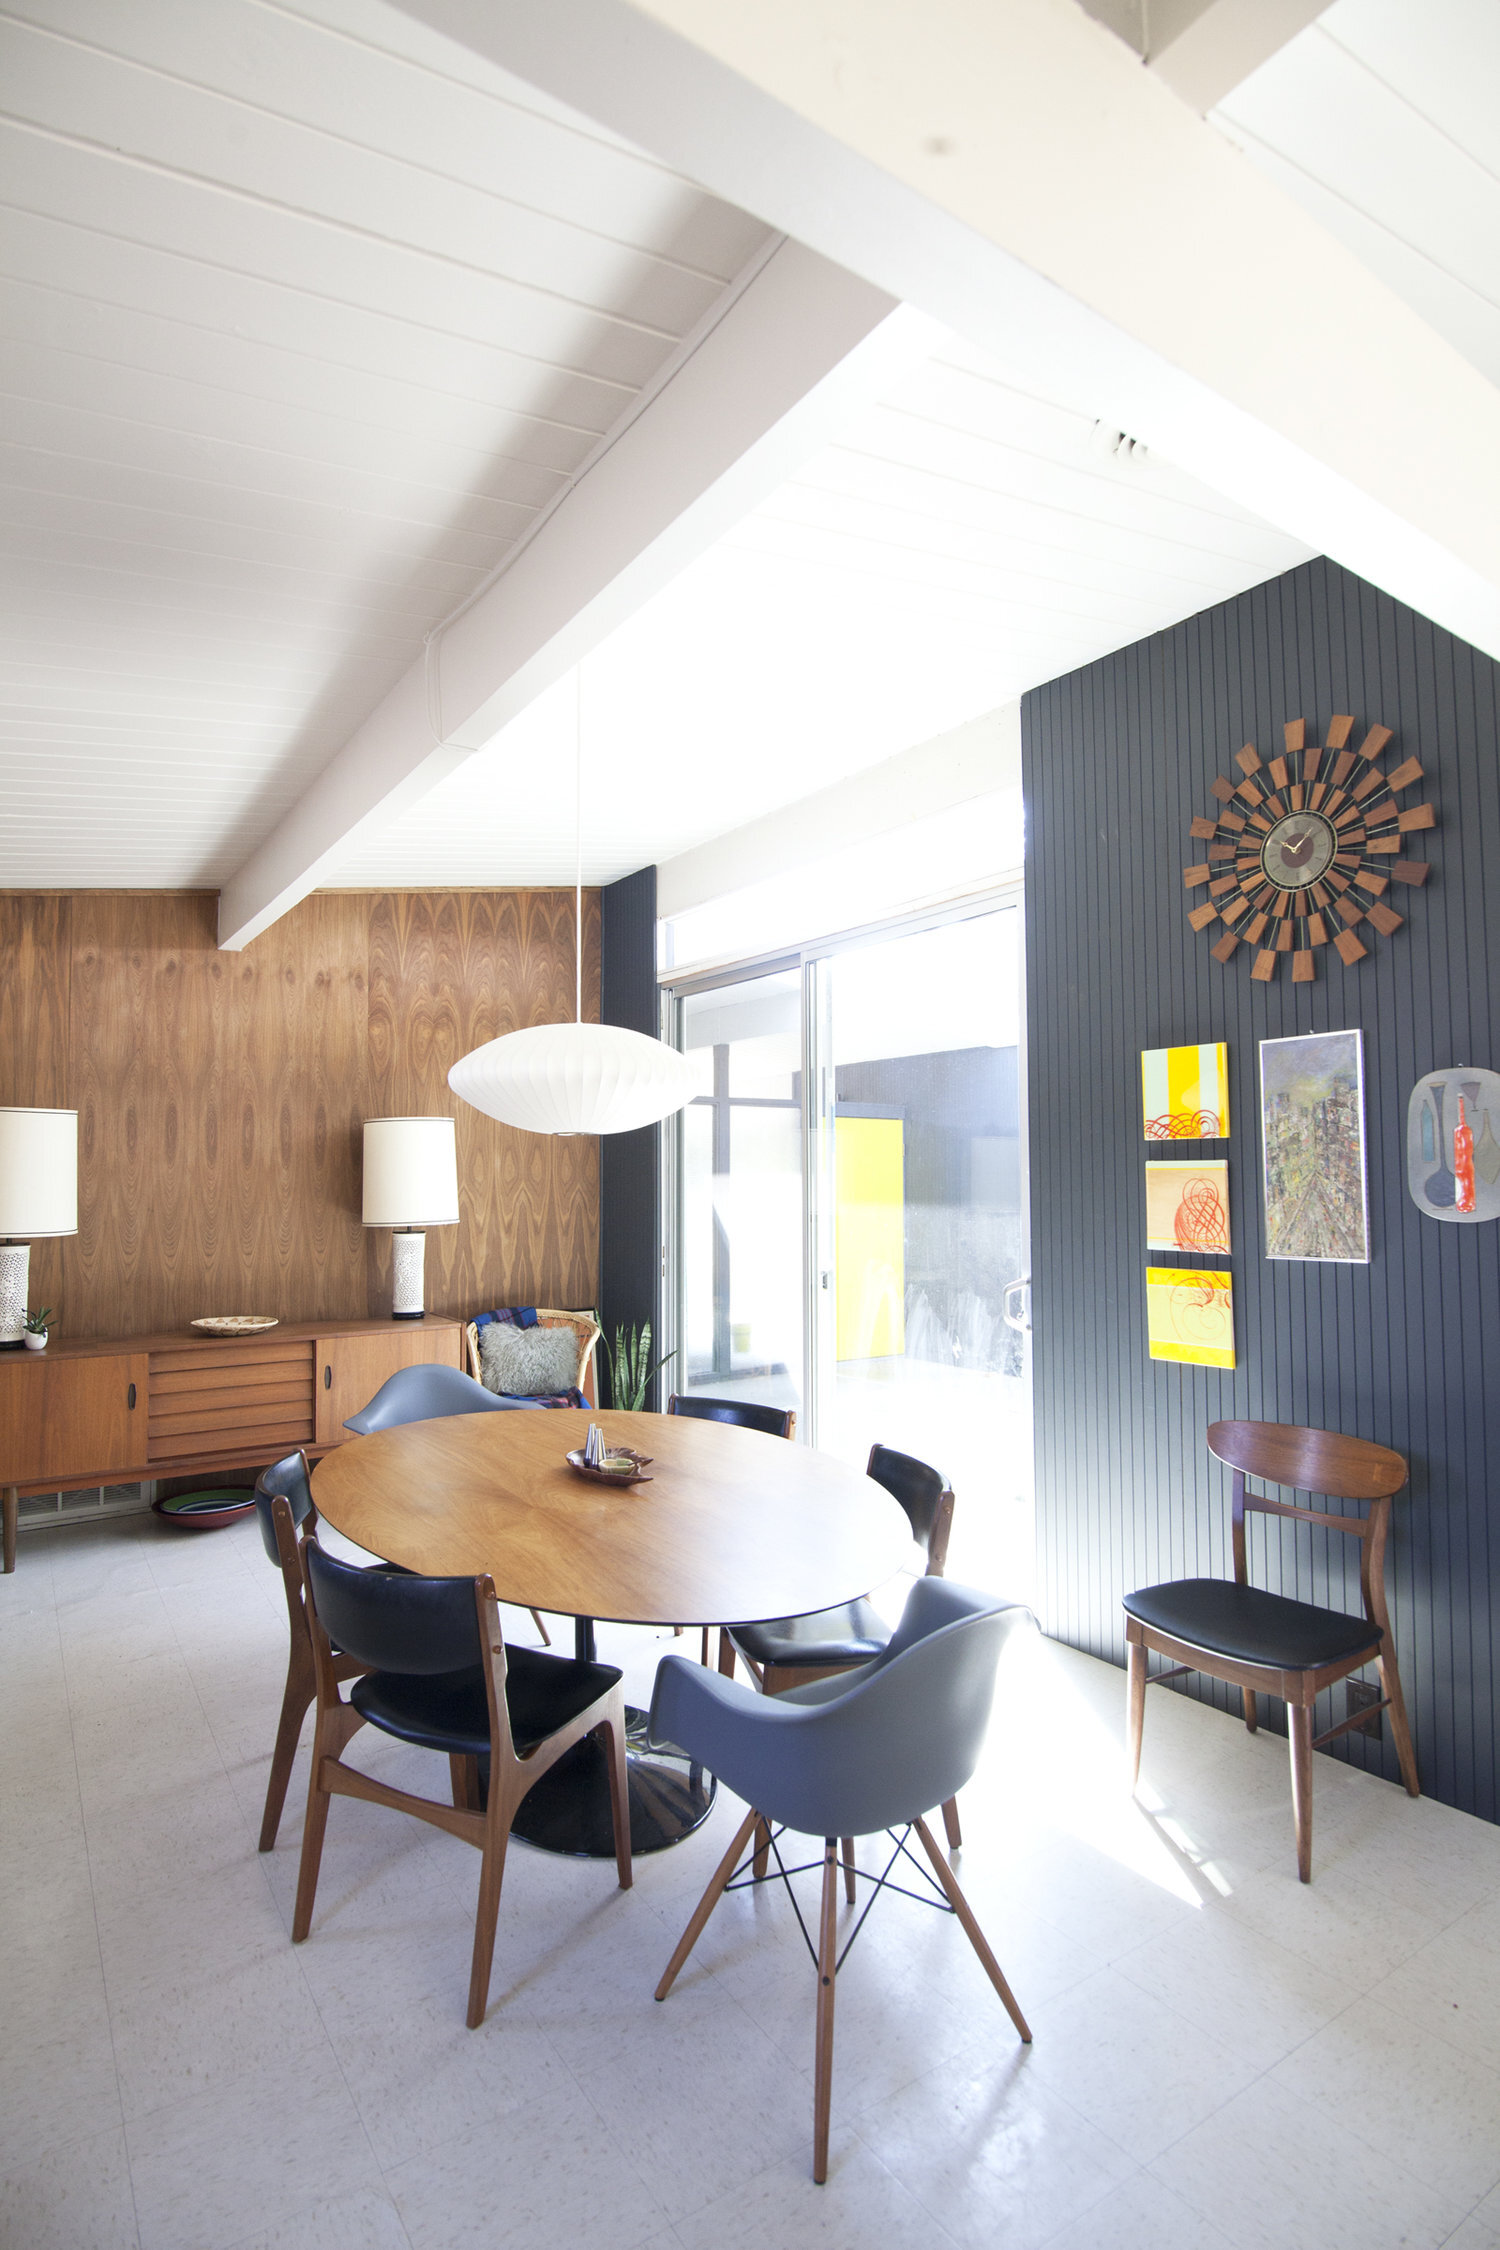
Walnut paneling added.
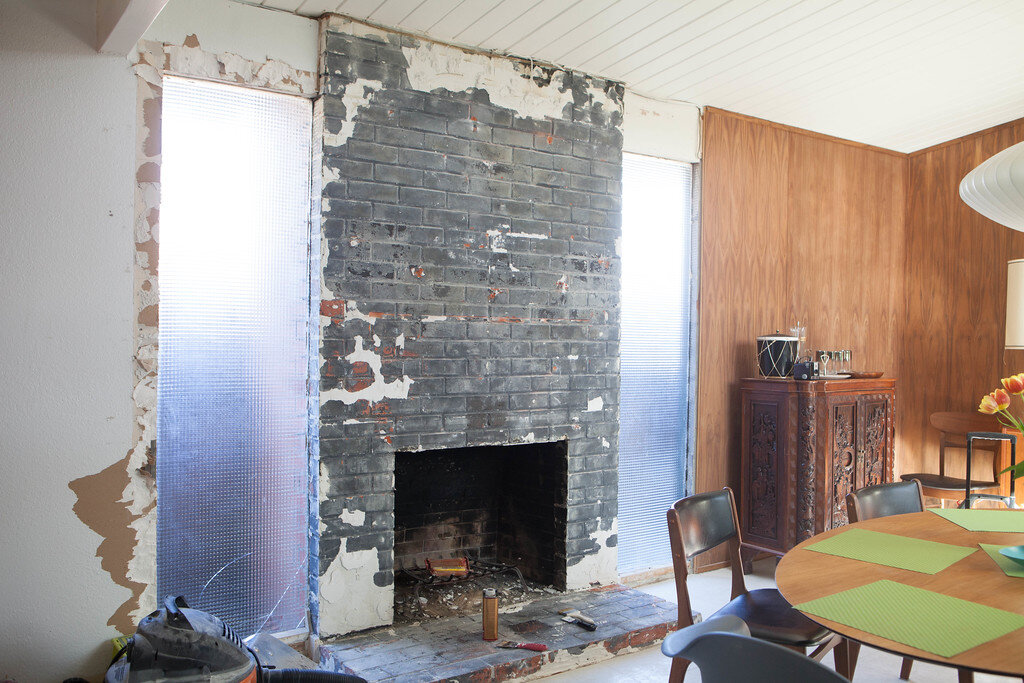
Fireplace after tile removal.
There was a thin layer of who-knows-what that was applied to the brick. It was much more difficult to remove than regular paint. We tried paint remover, but it didn't make a dent. I then tried soda blasting with a Harbor Freight 15lb blaster with a rented 6.5cfm @ 90 psi compressor, and that resulted in removing about a course of brick every two hours - ugh!


Out first experiment took a few hours to prepare the area, assemble the blaster, fill the bottle, setup the compressor, and experiment with flow rate and spray tips. A few pounds of soda later, we only had a few bricks cleaned.
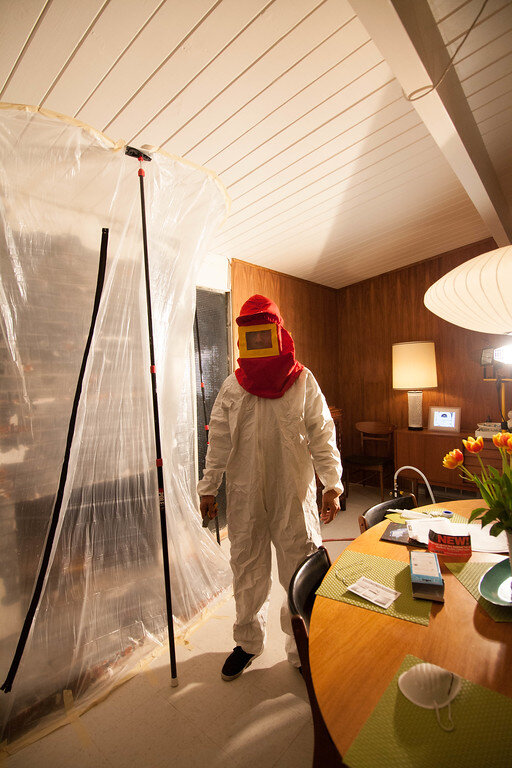
Fireplace ZipWalled and John suited up for blasting.
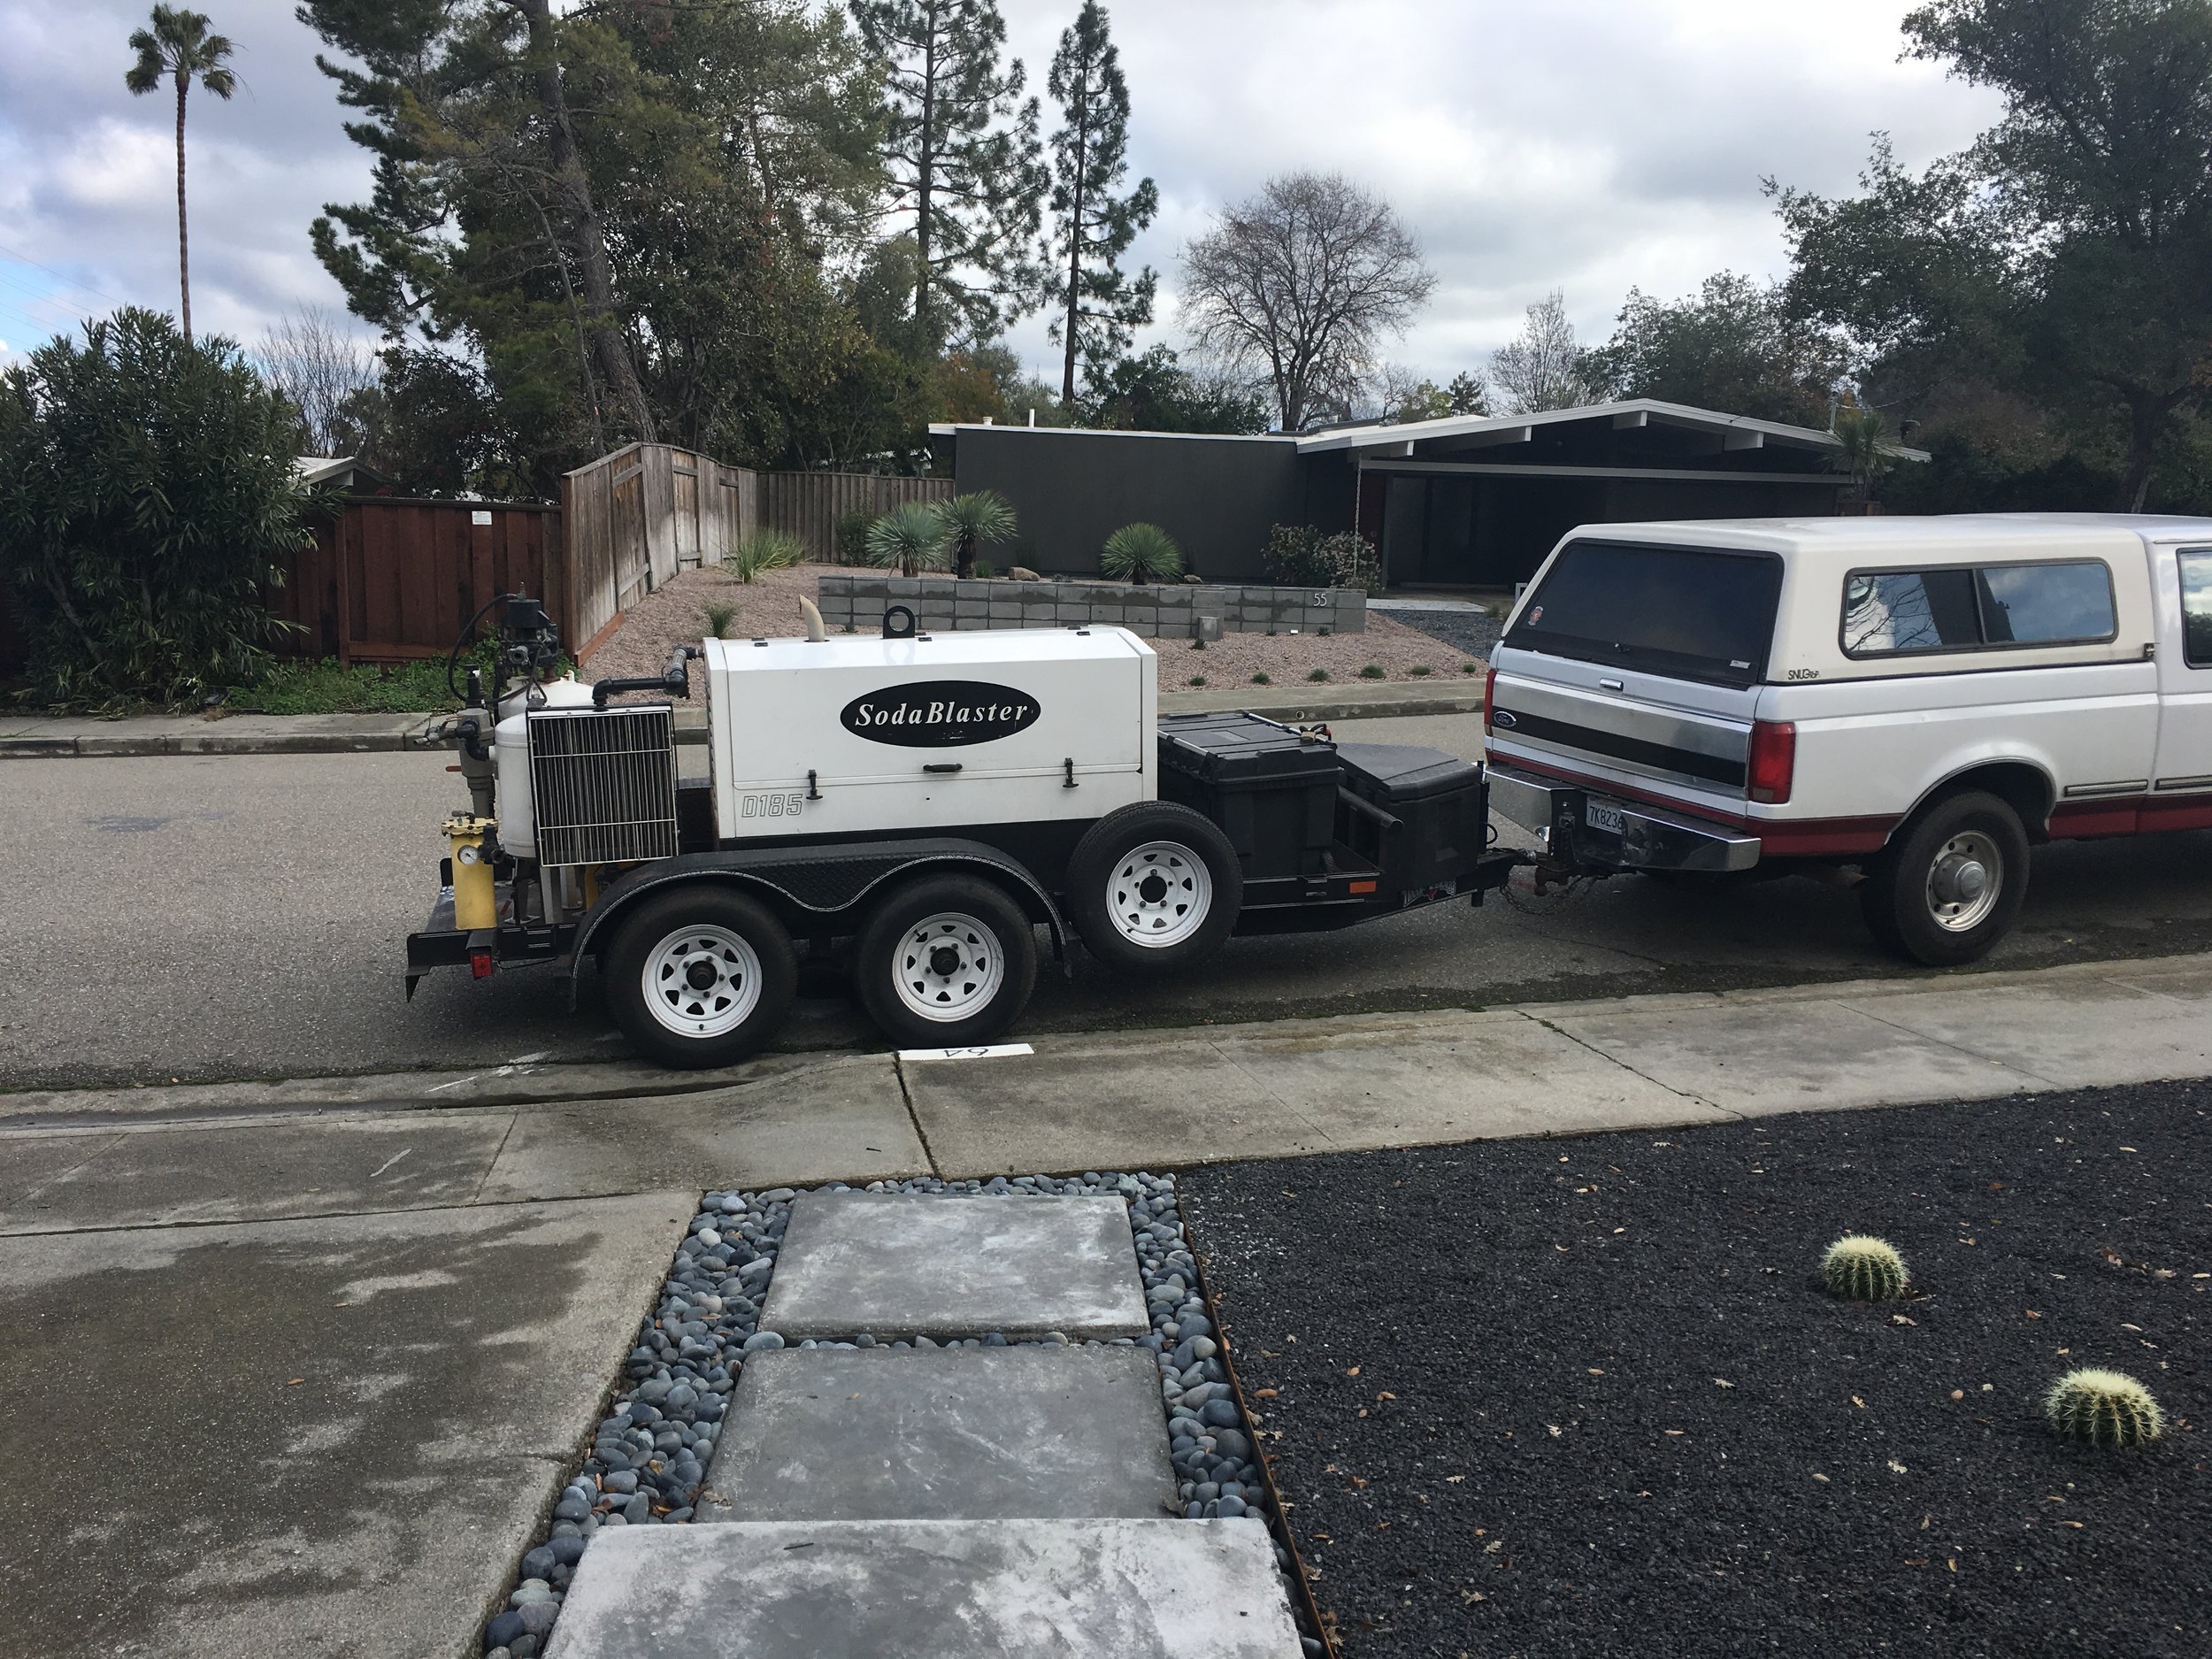
It was time to bring in the professionals, something we're always reluctant to do, but in this case, reasonable options ran out for us. A used professional abrasive blasting rig ran about $15K, so instead we hired Steve Coe out of Wheatland, CA. His crew was awesome and very professional. They were courteous about keeping dust out of the house. He pulled up in a truck with a huge trailer consisting of a giant compressor and blasting equipment.

They initially tested pure baking soda that didn't quite have the abrasion they wanted, so they also mixed in glass bead. It was loud and dusty, even with all the dust control mechanisms (a sealed area and a vacuum that pulled air out to the driveway). They were done in 4 hours and it was worth every penny!

Here is the completed job. A few remaining areas that require additional plaster removal.
Up Next - Replacing the glass panels on the side to get back to clear glass so we can see the entire chimney come through the room - can't wait!