
Concrete Planters: Sexy Succulents DIY Style
I was looking for holiday gift ideas and Karen suggested succulents and I was also anxious to try DIYing some concrete planters because it seemed all the rage on Instagram so I went for it!
Step 1 DIY Concrete Planters : Make Concrete Forms
I looked around for household items that I could use as forms. I've seen posts from folks that used all sorts of crafty items, so I ended up with:
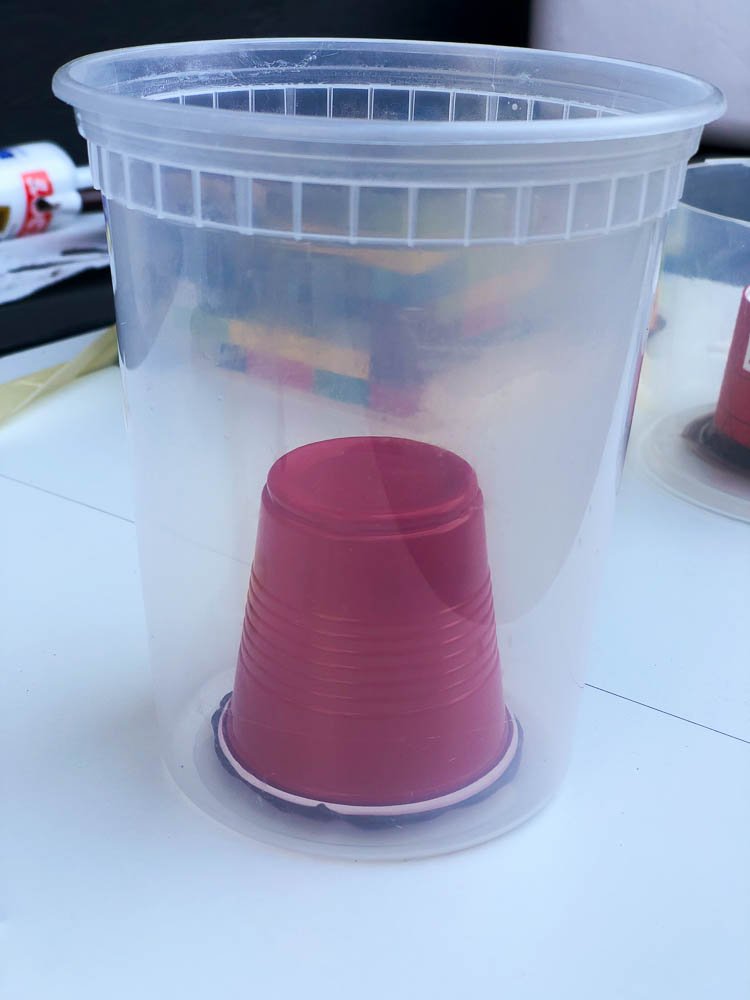
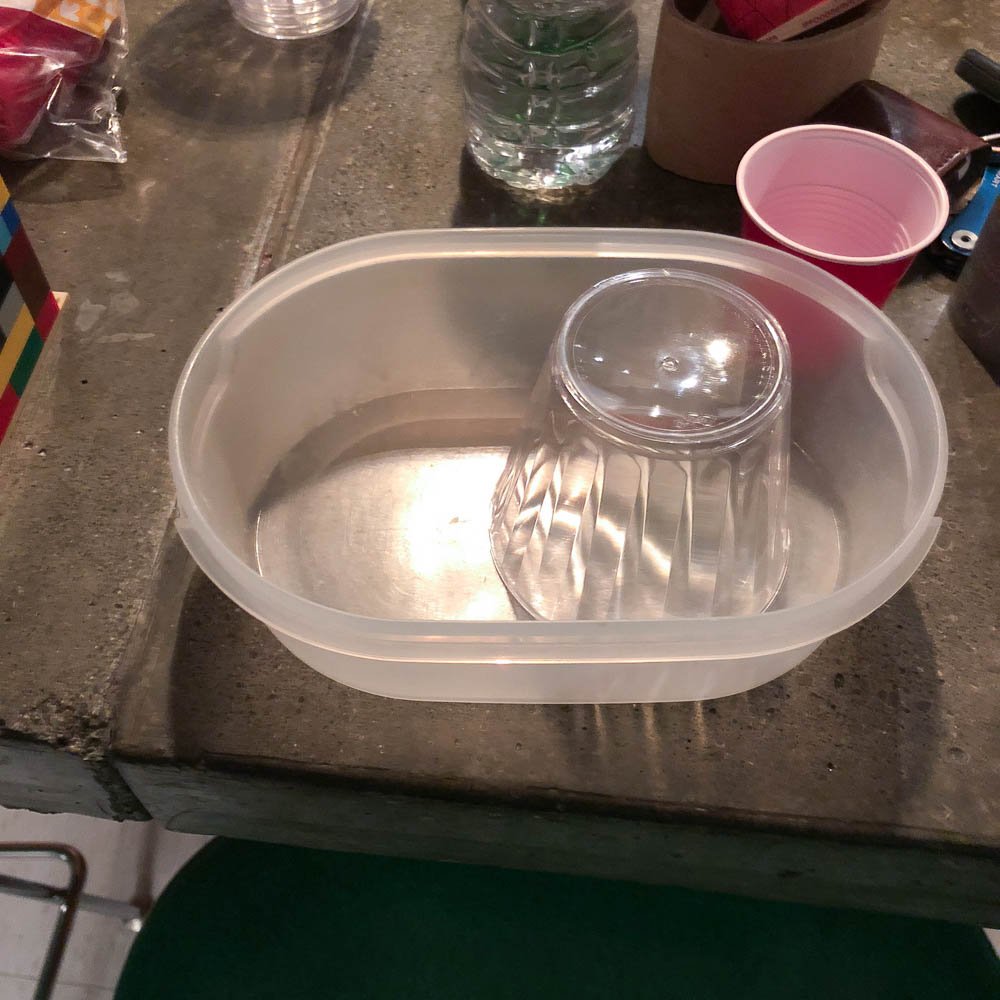
- Tupperware
- Pho soup takeout container
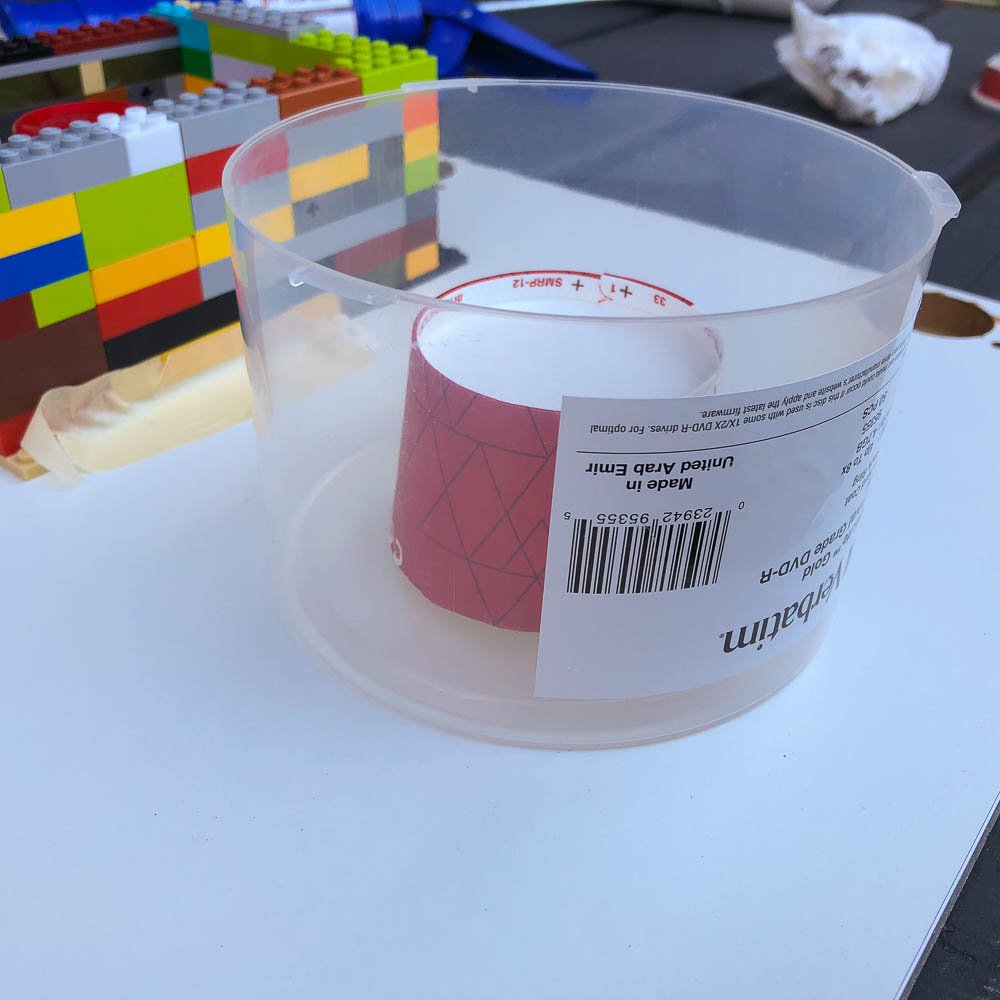
- Cover for a DVD-R spindle - (Because everyone has one of these sitting around!)
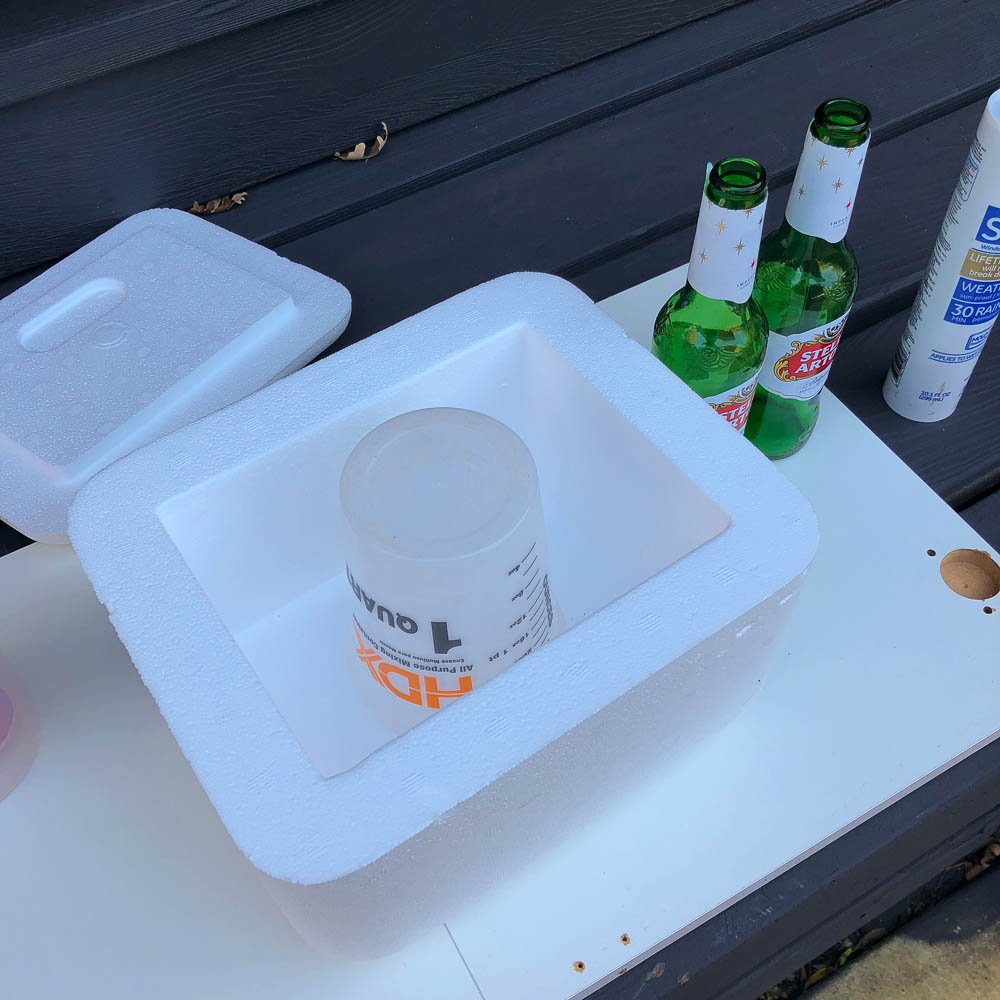
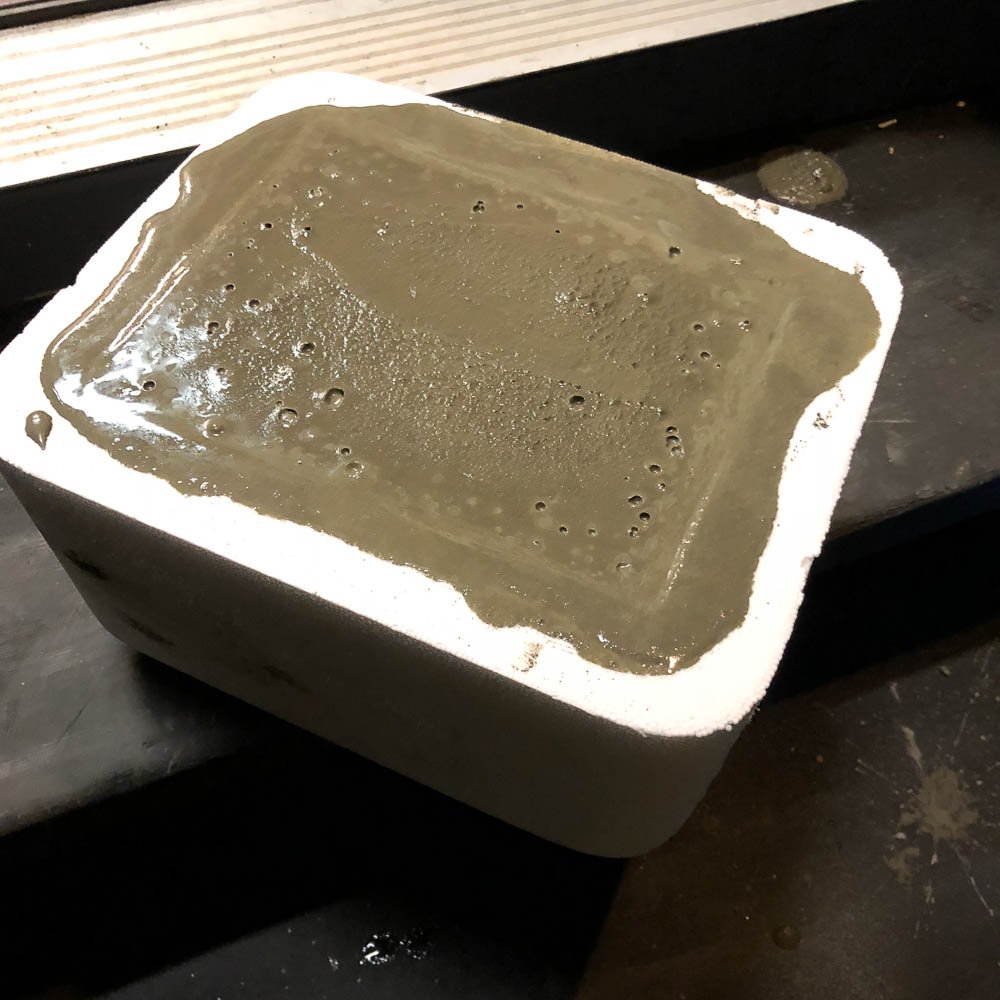
- Styrofoam container
- LEGOs - Thanks to Sebastian's brilliant idea!

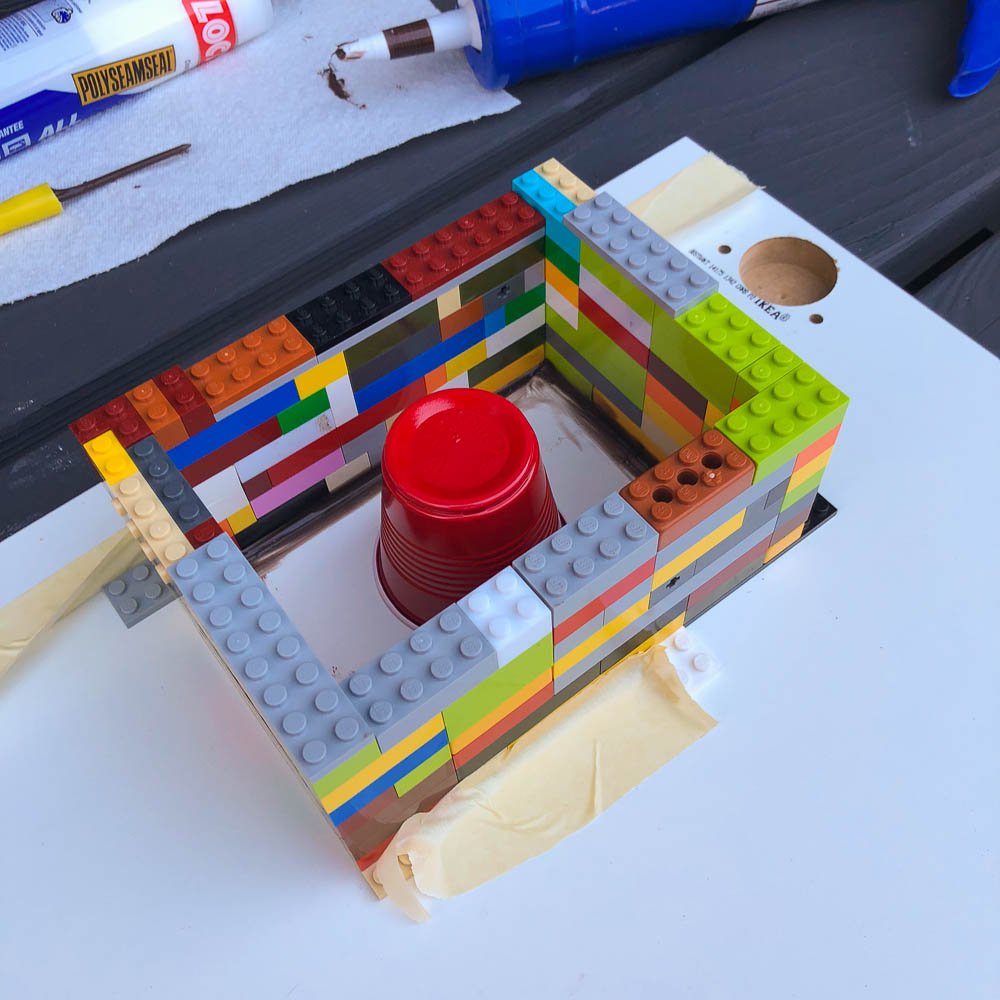
Time to get the kids busy building a LEGO form.

Completed LEGO form on a melamine casting surface with mini plastic Solo cup for the planting area.
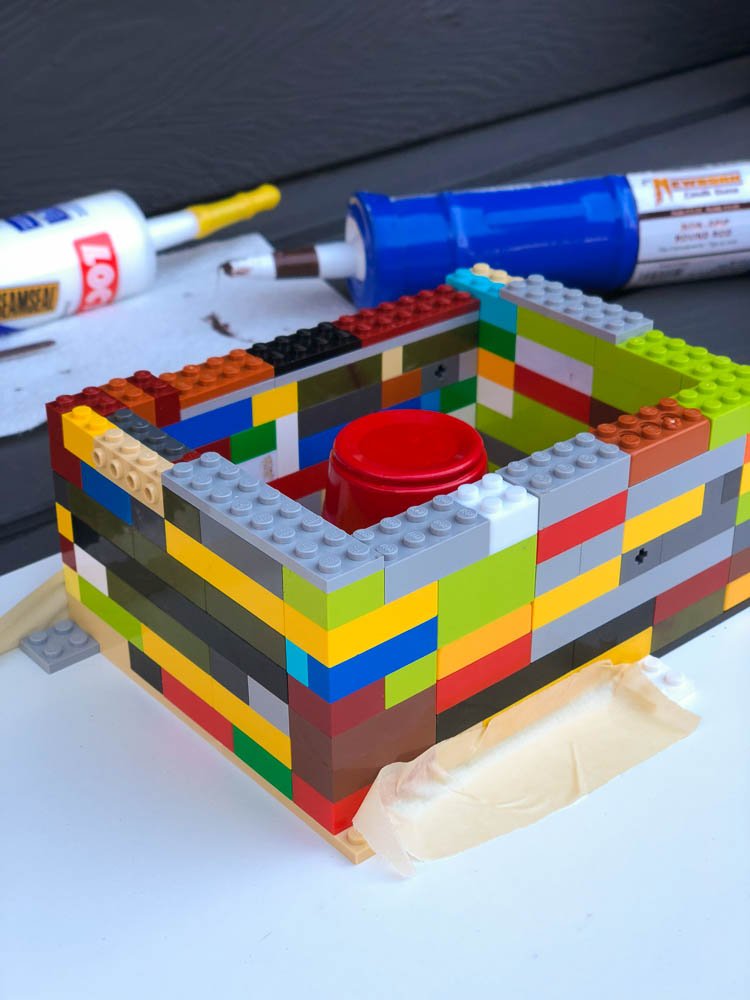
Here are several examples of my DIY concrete planter forms.
Preparing the DIY Concrete Forms
Casting concrete requires a little bit of upside-down thinking. You need to pour concrete into a mold and put in knockouts to create pockets of space. In all of my cases, I used a small cup to form the area where my succulents will be planted. The bottom of the form will end up becoming the top of my planter.
I used a silicone caulk to seal the cups upside-down to the bottom of all my forms to ensure the opening of the planting area would be nice and smooth.
Step 2 DIY Concrete Planters: Mixing the Concrete for the Planters
I made batches of concrete mix using:
- Portland Cement - this is the raw powder that binds and hardens
- Sand - this is an aggregate that is mixed to give it some additional strength and texture
- Green glass - I broke up some beer bottles to mix in some additional aggregate to add some variety to the finish on some of the planters
For most of the batches of mix I took 5 scoops of cement and 3 scoops of sand.
Step 3: Pouring the concrete into the mold

Since this form was larger, I was able to sprinkle some of the green glass at the bottom of the form before pouring the concrete.

Step 4 DIY Concrete Planters: Vibrating the Mold
You need make sure all the concrete fills the mold completely and allow air bubbles to escape to the surface, so I used an electric hand sander to vibrate all around the form. It helped to level out the concrete and make sure the finish was free from too many holes along the finished surface. You'll never get all of them out, but it helps greatly to reduce the bubbles.
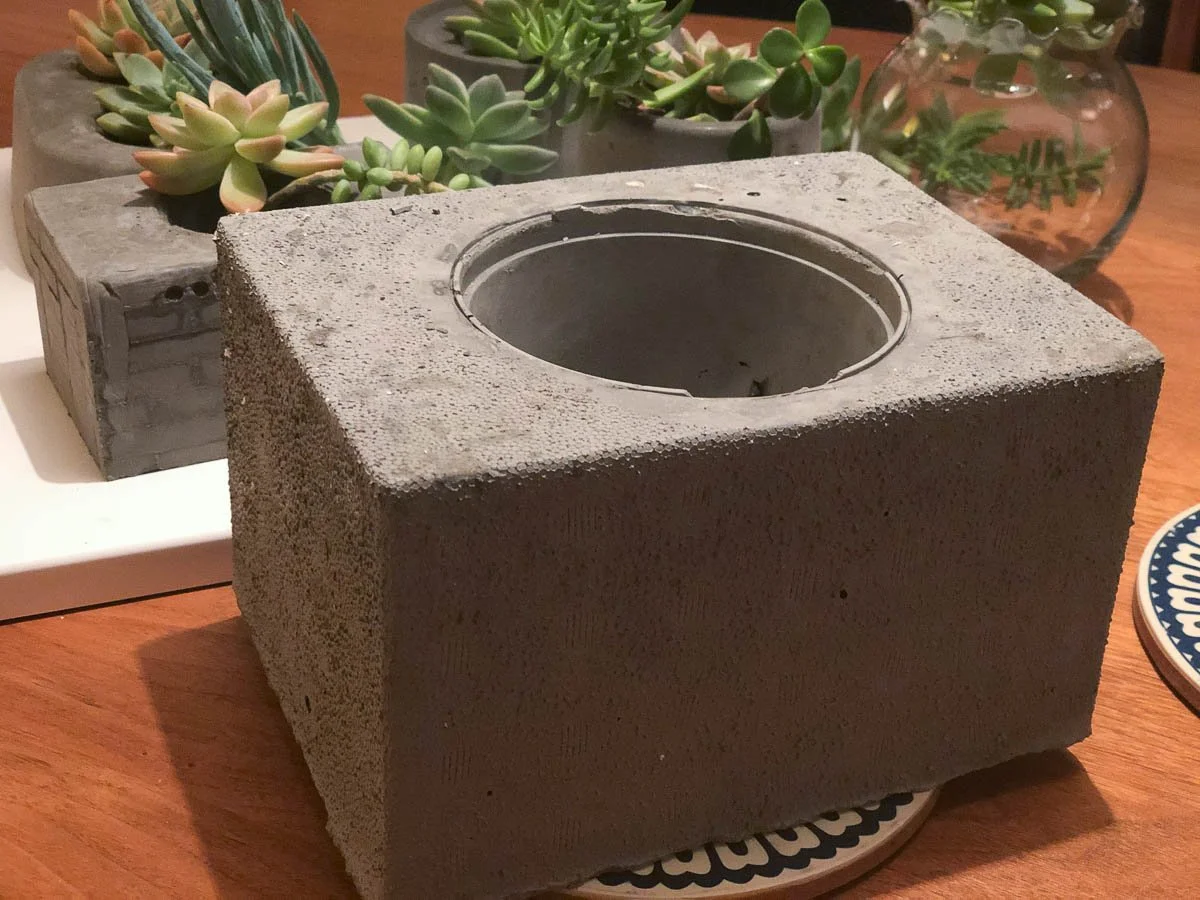
Step 5 DIY Concrete Planters: Breaking the concrete from the mold - The Fun Part!
I broke the concrete from the mold about 18 hours after pouring - you could say it was early, but my time was limited. The planters casted in the plastic containers released from the mold very easily. As the concrete dries it shrinks a tad, so all I had to do is flip it over it squeeze around the container.
The LEGO mold was fun, and a great activity for the kids - they had to release the form piece-by-piece.

The styrofoam mold was the most difficult, as I had to cut using a blade and tear off pieces to release the form completely. The concrete picks up imprints of all the textures from the mold, so all the cellular foam patterns appeared on the surface.
Step 6 DIY Concrete Planters: Sanding DIY Concrete Planters (only two of them required sanding)
There was green glass aggregate I wanted to expose on two of the planters, so I used a wet concrete polisher with a 50, then 200 grit pad to polish off a layer of concrete, otherwise it wouldn't be seen. (This isn't' one of these tools most people have handy, but from doing our countertops, I actually had one... and was siked I got to use it again!)
The planter from the foam form also needed polishing to remove the rough finish left behind from the cellular pattern.
Before sanding

After sanding
Step 7 DIY Concrete Planters: Arranging the Succulents
We sourced plants from our 'secret garden' (aka - Lolo's backyard, for which we owe much thanks)I put a layer of small stones at the bottom of each pot, added my cactus soil, then topped it off with a final layer of stones. I finished them off by adding felt pads to avoid scratching the table. After doing a couple I let Karen and the kids finish the remaining pots and add their artistic touch. Those receiving these succulents can thank them!


They turned out great and we were very happy with the results. Looking forward to seeing what else we can make!
P.S. - Much thanks for Mark Melonas at @lukeworks for inspiration.